Question is: Can I replace my toilet without breaking the floor tiles?
Yes, replacing a toilet on a tiled floor is possible without breaking tiles if you use care and proper planning. The main challenge Kenyan homeowners encounter is not the removal, but the "footprint" mismatch.
A chunky older toilet often leaves behind an unsightly ring of unfinished or discoloured flooring when replaced with a sleek, modern unit. Our tiling resources offer more expert advice for bathroom renovations.
Assessing Your Floor and Minimising Tile Damage Risk
Before turning off the water, inspect the area around your current toilet. Kneel to look for hairline cracks in the tiles or grout lines that start from the toilet base. Gently press on the tiles next to the toilet.
Any movement or a hollow sound indicates they may be loose and could crack when you lift the old unit.
A solid, well-laid floor of durable porcelain tiles provides a stable foundation for the project. If the existing grout is crumbling or tiles are unstable, you must include minor tile repairs in your project plan from the beginning.
Step by Step Guide to Removing Your Old Toilet
The removal is a delicate operation where patience prevents expensive mistakes. Porcelain is deceptively heavy, and one careless move can chip the very bathroom tiles you want to save.
Protect the surrounding area with old towels or thick dust sheets to absorb drips and cushion the floor from accidental knocks.
Disconnecting the Water Supply and Draining the Toilet
First, locate the isolation valve on the small pipe leading to the cistern. It is usually a small chrome tap with a screw-head slot. Turn it clockwise until it stops. Flush the toilet to empty the cistern and the bowl, holding the handle down to drain as much water as you can.
Use a sponge or small cup to remove any remaining water from the bowl to prevent a messy spill during lifting.
Safely Loosening the Floor Mounting Bolts
Two bolts typically secure the toilet base to the floor, often covered with plastic caps. Pry these caps off gently with a flathead screwdriver. Use a spanner to loosen the nuts with steady, even pressure.
If the bolts are rusted tight, spray a generous amount of penetrating oil on them and wait 30 minutes. This helps prevent the bolt from spinning and cracking the porcelain it passes through.
Lifting the Toilet without Damaging Floor Tiles
Once the bolts are removed, gently rock the toilet to break the old wax or silicone seal at its base. You will feel a slight release. This task requires two people because a toilet is awkward and heavy.
One person should grip from the back and the other from the front of the bowl. Lift it straight up to clear the bolts and walk it carefully out of the bathroom. Do not slide it across the floor, as a tiny piece of grit trapped underneath can cause a long, deep scratch.
Checking Compatibility of a New Toilet
Choosing a new toilet involves more than just style; it requires precise measurements. A mismatch can turn a simple swap into a major renovation.
Getting the measurements right preserves your floor and prevents plumbing problems.
Matching the Rough In Dimension for a Perfect Fit
The "rough-in" is the distance from the finished wall to the centre of the waste pipe. Measure this distance before you buy a new toilet. A standard rough-in is about 30cm (12 inches), but older homes can vary.
A new toilet with a shorter rough-in will leave an awkward gap behind the cistern, while one that is too long will not fit.
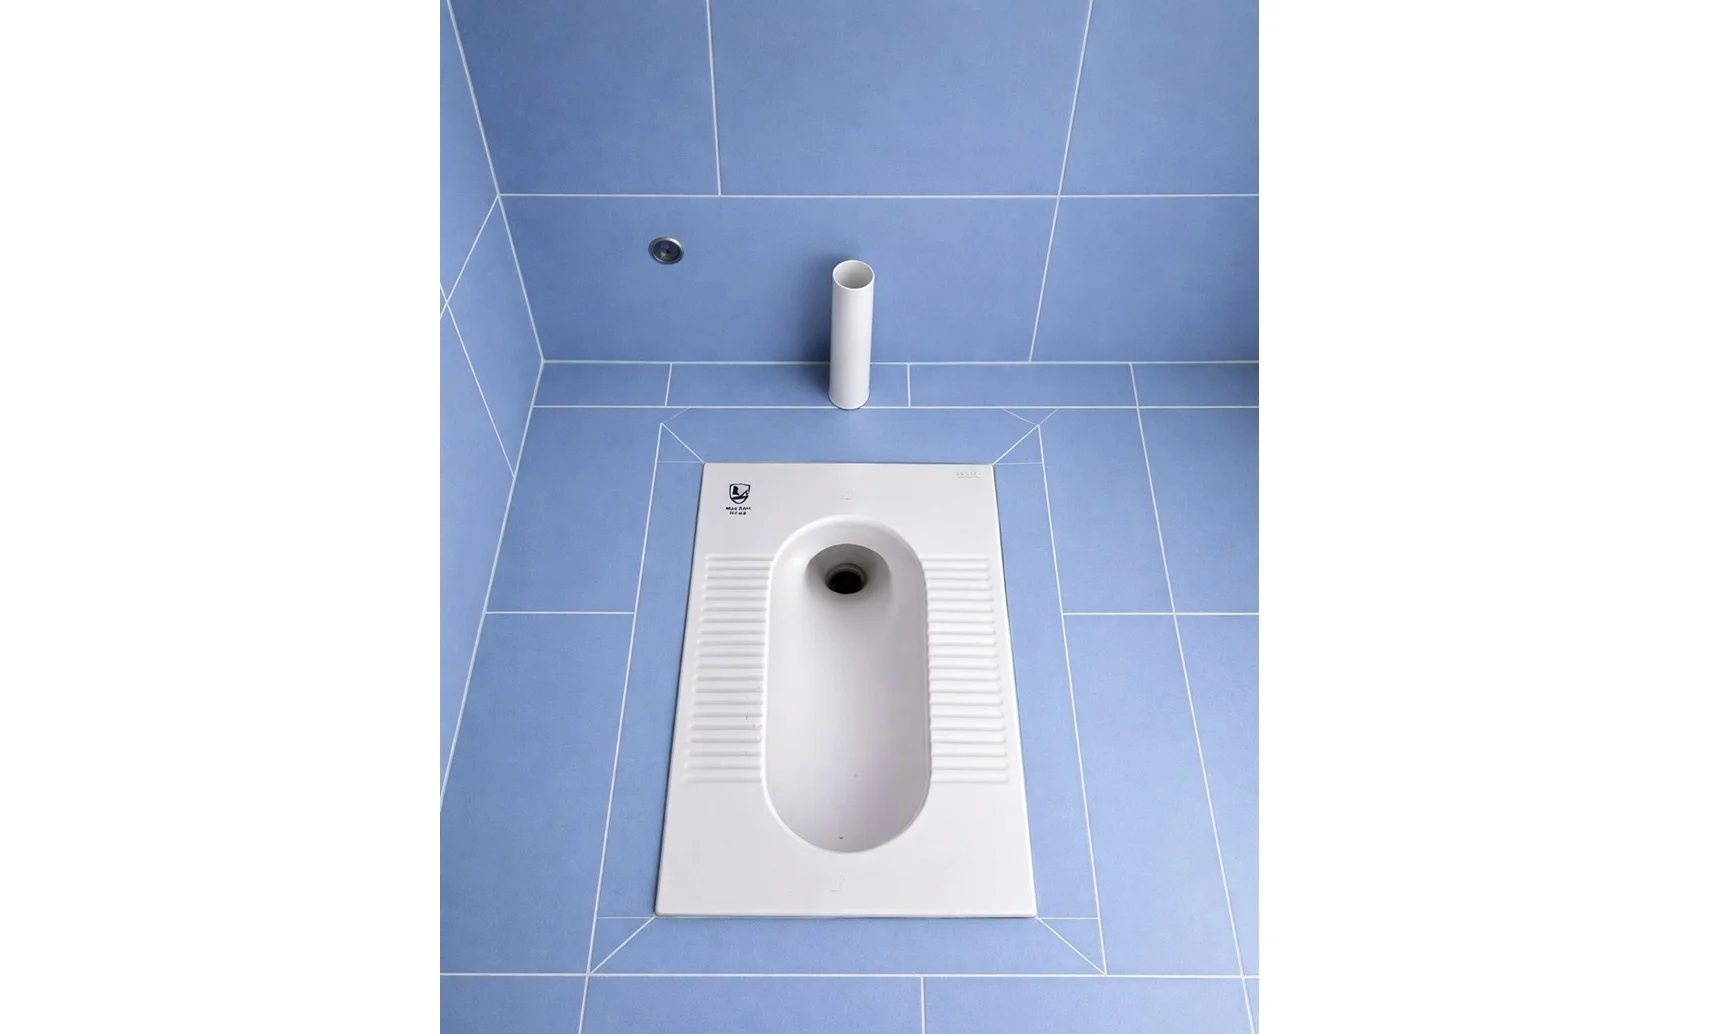
Understanding S Trap vs P Trap Plumbing in Kenyan Homes
Examine where your waste pipe goes. An "S-trap" system exits directly down into the floor. A "P-trap" system goes straight back into the wall.
Most modern toilets sold in Kenya are designed for P-trap installations, which can create a major compatibility problem in older properties with S-trap floor plumbing.
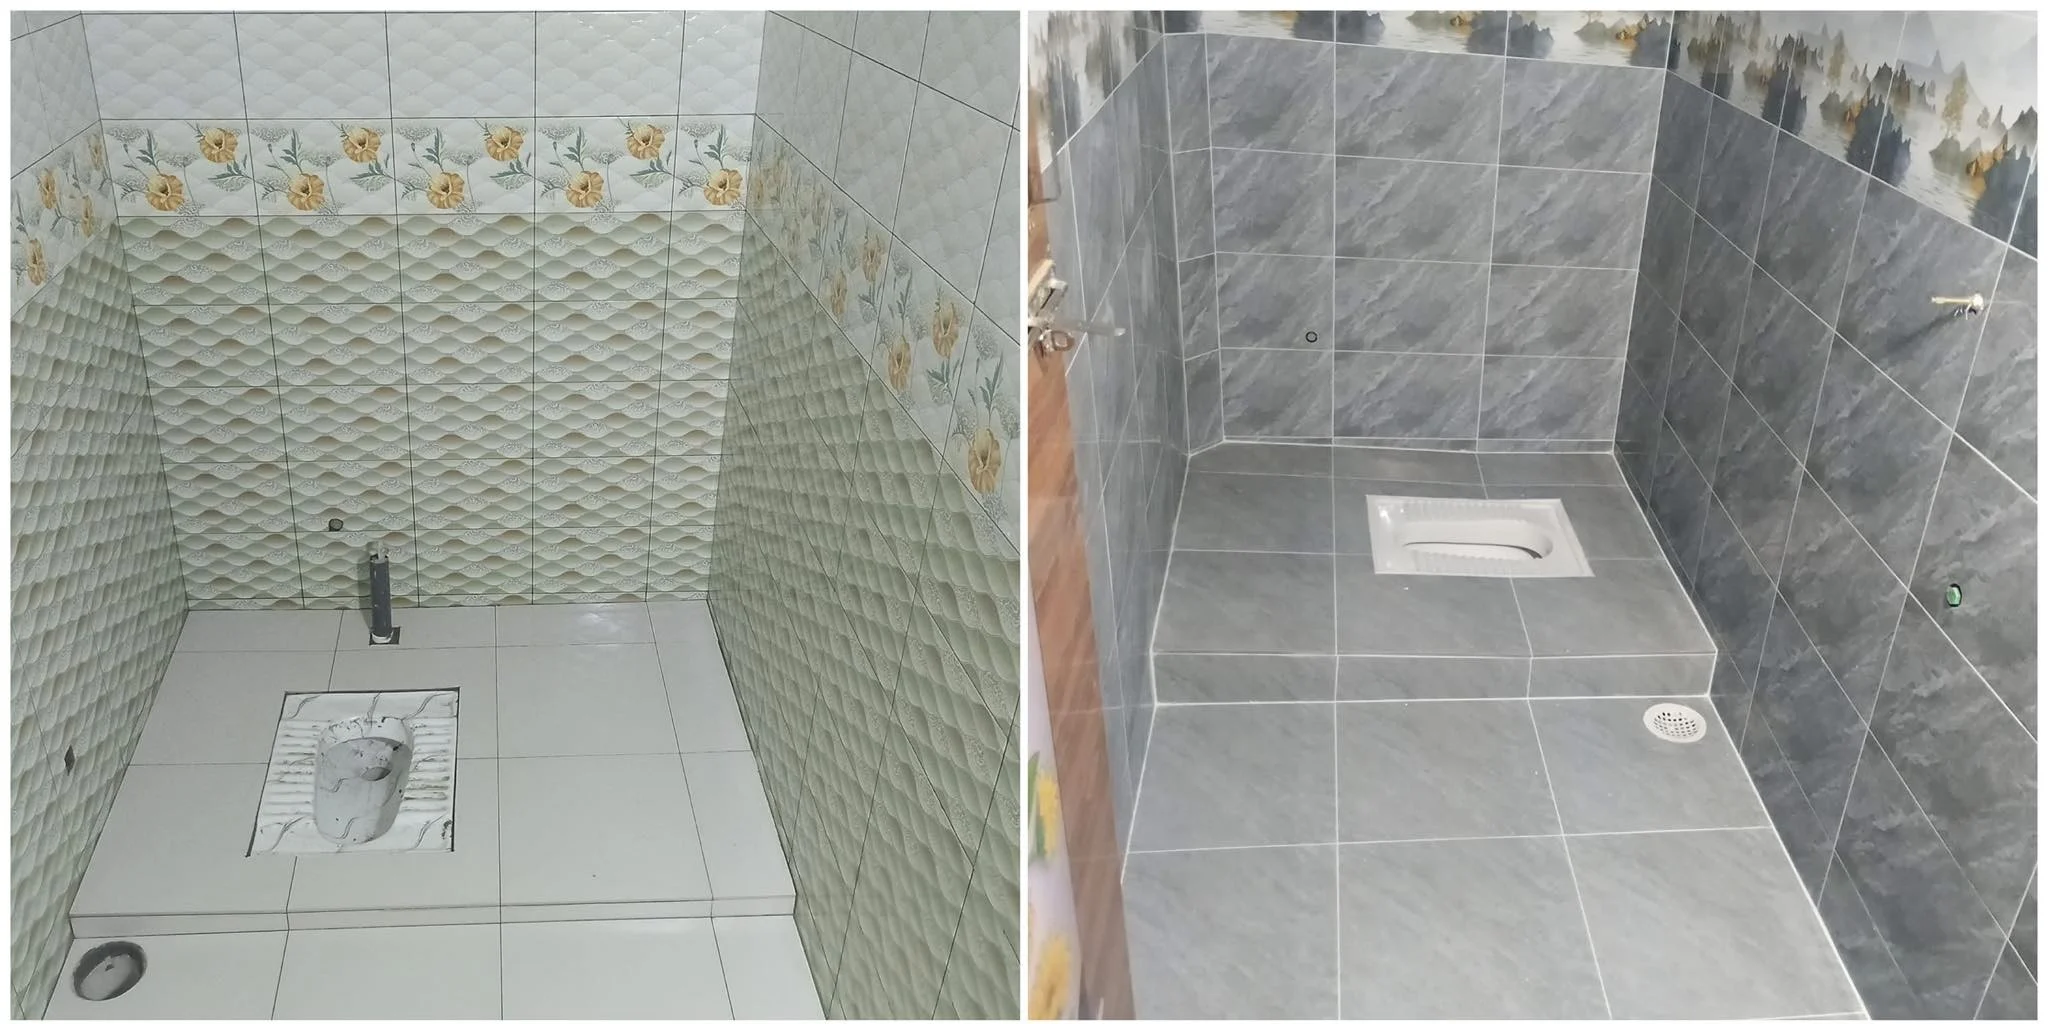
Matching the New Toilet's Footprint to Your Floor
The footprint mismatch is the most common issue. Many older toilets have a large, wide base, whereas newer water-saving models often feature a smaller, more sculpted base.
Before buying, measure the length and width of your old toilet's footprint. Compare these measurements to the technical drawings of the new model. A smaller new footprint will leave an exposed area of tile that is often discoloured.
Solutions for Mismatched Footprints and Exposed Tiles
Discovering a grimy outline on your floor after removing the old toilet is disheartening, but it does not mean you have to retile the entire bathroom. Several clever methods can disguise the discrepancy.
Using Trim Rings to Conceal Gaps
For minor gaps, specialist toilet base moulding or trim rings can be fitted around the new toilet's base.
These products are typically made from plastic or rubber and can cover small inconsistencies, providing a clean, finished edge where the porcelain meets the tile.
Repairing and Patching Damaged Tiles
If you have spare tiles from the original installation, you can carefully chip out the old, stained tiles and replace them. The key is to remove them without damaging adjacent tiles.
Using a grout rake first to isolate the tile simplifies this process. A perfect colour match on the new grout is crucial for an invisible repair.
Creating a Tile Plinth for Larger Gaps
If you cannot find matching tiles, embrace the difference. A "plinth hack" is an excellent solution. Create a slightly raised, decorative platform for the new toilet.
This can be made from a contrasting pattern of mosaic tiles, a thin slice of polished marble, or a custom-cut piece of quartz. This technique elevates the new toilet, making it a deliberate focal point instead of an obvious patch job.
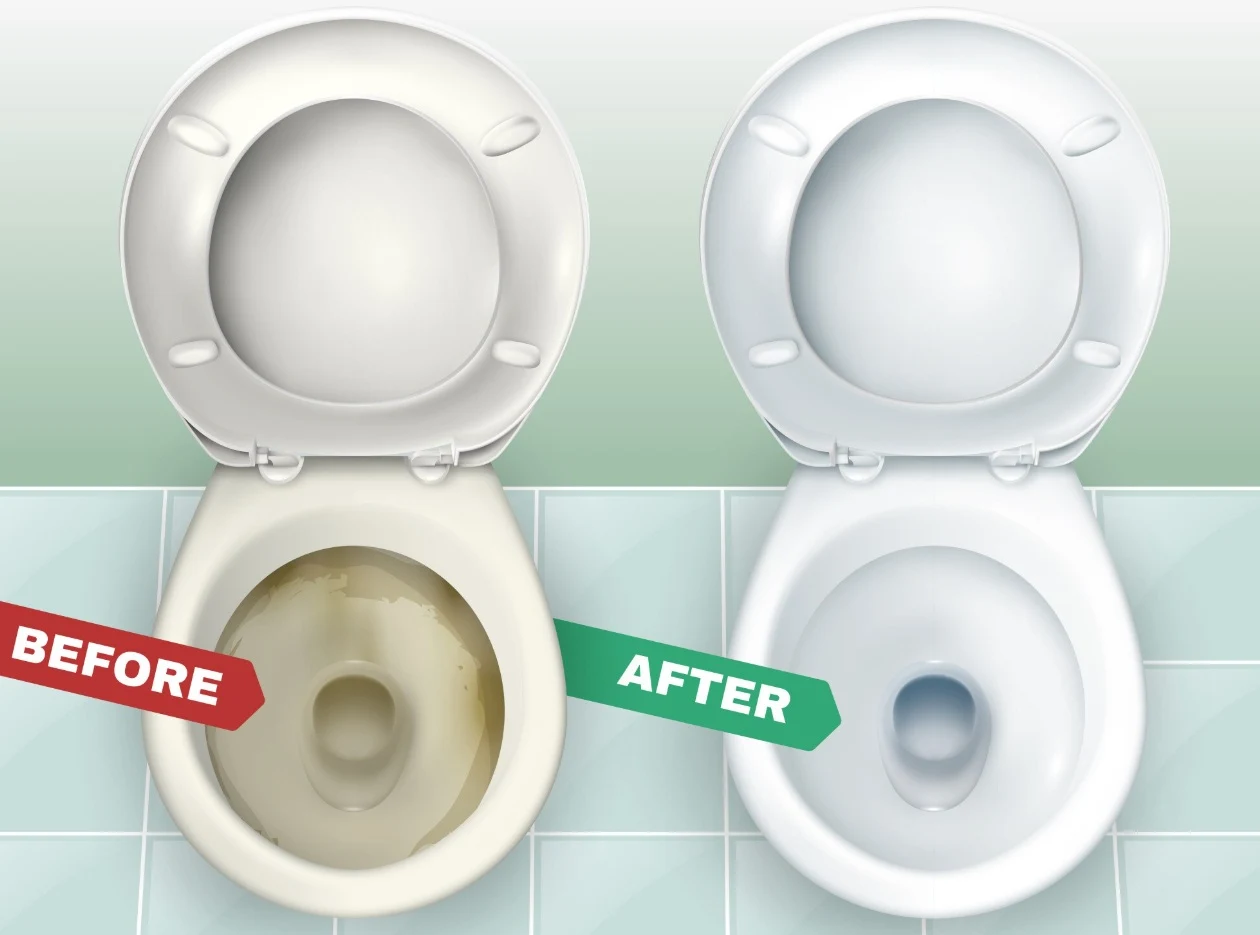
Installing the New Toilet for a Secure Watertight Fit
A successful installation is defined by two factors: it does not rock, and it does not leak. Both are achieved by carefully preparing the base and methodically tightening the fittings.
Preparing the Floor Flange and New Wax Ring
With the old toilet removed, scrape away all the old wax from the floor flange with a putty knife. The new wax ring is the most critical seal. It is a soft, sticky ring that compresses to form a watertight and airtight barrier.
Press it firmly onto the base of the new toilet or directly onto the floor flange before lowering the toilet into place.
Setting and Levelling the New Toilet
Carefully align the holes in the new toilet's base with the bolts extending from the floor. Lower it straight down, using your body weight to press it firmly onto the wax ring until you feel it compress.
Place a spirit level across the bowl. If it is not perfectly level, use plastic toilet shims to make corrections. A rocking toilet will eventually break its seal.
Securing the Toilet and Sealing the Base
Hand-tighten the nuts onto the bolts first, then use a spanner to tighten them by alternating between sides. A quarter-turn at a time is sufficient. The goal is to make it snug, not to apply excessive force.
Over-tightening is the primary cause of cracked porcelain. Once the toilet is secure, run a neat bead of bathroom-grade silicone sealant around the base. Leave a small gap at the very back to allow water to escape in case of a future internal leak.
Contingency Planning for Tile Repairs

The best renovation projects include a Plan B. For a toilet replacement, that plan should focus on your flooring.
The Importance of Keeping Spare Tiles
This is the golden rule of any tiling project. Always buy and store at least one extra box of your chosen tiles.
Having the original batch available for future repairs is invaluable and guarantees a perfect match in size, colour, and finish years later when the model might be discontinued.
How to Source Matching Tiles and Adhesives in Kenya
If you do not have spares, take a high-quality photo and a chip of the old tile to major suppliers. You can check our guide on the best places to buy tiles in Kenya for reputable dealers along Mombasa Road or in the Industrial Area.
You might find a close match. Remember to buy the correct tile adhesives and grout for your tile type. The installation requirements for different materials vary, so understanding the difference between porcelain and ceramic is important.
Deciding Between DIY and Professional Tile Repair
If more than one or two tiles are damaged, or if they require precise cuts around the new toilet base, it is often wiser to hire a professional tiler.
Their experience ensures clean cuts and a level finish that is difficult for a DIYer to achieve without specialised tools like a wet tile saw.
Navigating S Trap Plumbing in Kenyan Homes
This is a specific but frequent issue in many Kenyan homes, where older floor-based plumbing meets modern wall-oriented toilet designs.
How to Identify Your Toilet Trap Type
The check is simple. Look behind your current toilet. If the large waste pipe curves down and disappears into the floor, you have an S-trap. If it goes directly into the wall behind the toilet, it is a P-trap.
Finding S Trap Compatible Modern Toilets
Most modern toilets are P-trap, but many toilet suppliers in Kenya still stock S-trap models or offer converter kits. These kits include flexible or offset pan collars that can bridge the gap.
Be aware that these converters can sometimes be bulky and may affect how closely the toilet sits to the wall.
When to Call a Plumber for Pipe Modifications
If you are set on a specific wall-hung or P-trap toilet and your home has S-trap plumbing, the floor will need to be opened to re-route the pipework.
This is a significant plumbing job that requires a professional and will certainly involve breaking floor tiles. It elevates the project from a simple replacement to a partial bathroom renovation.
Estimated Costs for Toilet Replacement and Tile Repair in Kenya
Understanding the potential costs helps you budget effectively and decide between a DIY approach and hiring a professional.
| Item / Service | DIY Estimated Cost (KES) | Professional Installation Cost (KES) | Notes |
|---|---|---|---|
| New Close-Coupled Toilet | 10,000 - 25,000+ | (Same as DIY) | Price varies hugely by brand and features. |
| Wax Ring & Bolt Kit | 800 - 1,500 | Included in labour | An essential, non-reusable part. |
| Silicone Sealant | 500 - 1,000 | Included in labour | Choose a mould-resistant bathroom-grade sealant. |
| Plumber's Labour | N/A | 5,000 - 10,000 | For a straightforward swap. More for complex plumbing. |
| Tile Repair (per tile) | 1,000 - 2,000 (materials) | 3,000 - 5,000 (labour + materials) | This assumes you have the spare tiles. |
Sourcing Toilets and Tiles in Kenya
For a wide selection of toilets, from standard models to high-end designs, major hardware and sanitary ware showrooms in Nairobi, Mombasa, and other large towns are your best bet.
These stores often stock both S-trap and P-trap compatible units. When searching for matching tiles, visit dedicated tile centres that import from various international markets.
They have a higher chance of stocking older or more unusual designs compared to general hardware stores. You can also browse a wide variety of styles in our online tile shop.
Expert Tip for A Successful Toilet Upgrade Plan
Replacing a toilet on a tiled floor without damage is achievable. The project's success depends less on force and more on foresight.
By measuring your existing toilet's footprint and rough-in before you shop, and by having a contingency plan for a potential tile mismatch, you can turn a potentially stressful task into a controlled and satisfying upgrade for your bathroom.